![]()
Assigning Content to the Collection
After you create a collection, you assign content to it as described in the following steps.
Note: When viewing a Collection on the Web site, the user sees last published version of content appears. If the content was never published, nothing appears.
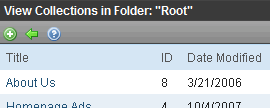
- Navigate to the content folder containing the collection to which you want to add content. Alternatively, choose Content > Collections > Collections.
- Choose View > Collection. The View Collections screen appears.
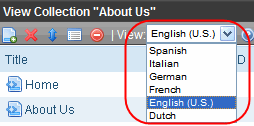
- Accept or change the language.Show me.
- Click Add Items (
 ). The Add Items to Collection screen appears, displaying all subfolders within the selected folder and content in the folder that is not part of the collection. (Subfolders are available if the Include subfolders checkbox was checked for the collection.)
Alternatively, hover the cursor over the collection in the left panel, right click the mouse, and click Add Items.
Show me.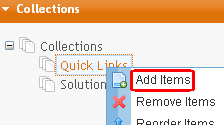
As another alternative, navigate to a content folder, click items to be assigned, right click the mouse and select Copy. Then, locate the collection, right click the mouse, and select Paste Items to Collection.
Show me.
Note: The file types pulldown remembers your most recent choice and can filter which files appear. You can change the selection if desired.
Show me.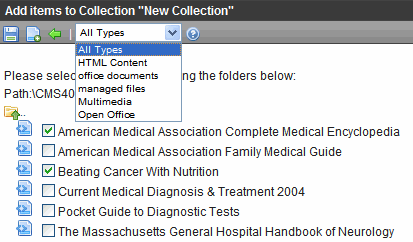
- Check boxes next to content to add to the collection. You can only add content from the selected folder or its subfolders. (Subfolders are available if the Include subfolders checkbox is checked for the collection.)
- Click a subfolder to view its content.
- To return to the parent folder, click the folder with the up arrow (
 ).
). - Navigating between subfolders deselects content.
- After you select content, click Save (
 ) to add it to the collection.


![]()